Campervans
🔥 Popular Destinations
Uluru
East Coast
Whitsundays
K'Gari (Fraser Island)
Queenstown
Fiji
Vietnam
Thailand
Multi-Day Tours
Australia
New Zealand
United States
Canada
India
Other Destinations
Bus Passes
Australia
New Zealand
United States
Canada
India
Other Destinations
Multi-Day Tours
Campervans
Cars Rental
Bus Passes
Skip to main content
Home
Australia
Hobart
Food, Wine & Nightlife
All
Food, Wine & Nightlife
Day Trips & Excursions
Wildlife & Nature
National Parks
Multi-Day Tours
Local Tours
Sustainable Tours
Food Tours
Historical Tours
Walking & Biking Tours
Adventure
Cruise & Sailing
Luxe
Attractions
Trekking
Zoos & Wildlife Sanctuaries
Brewery Tours
Getting Around
Water Activities
Intrepid Travel
Kayaking
Things to do with kids
Travel Tours
Caving
Cultural Tours
Solo Travellers
Wine Tasting
Bus Passes
Car & Campervan
Fishing
Showing:
4
Experiences
Select date range
Sort by:
Popular
Best Price Guarantee*
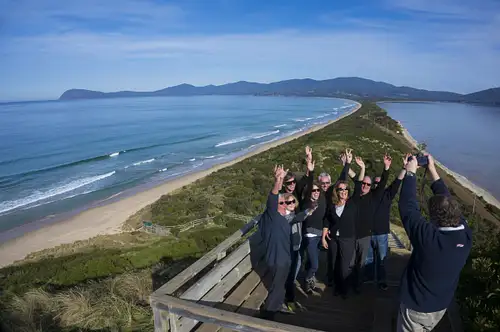
Foodie's Delight 🍴
Hobart, Australia
10 hrs
Bruny Island Traveller - Gourmet Tasting and Sightseeing Day Trip from Hobart
5
(8)
250+ booked
from
AUD $
290.00
10 hrs
Foodie's Delight 🍴
Hobart, Australia
Bruny Island Traveller - Gourmet Tasting and Sightseeing Day Trip from Hobart
5
(8)
250+ booked
from
AUD $
290.00
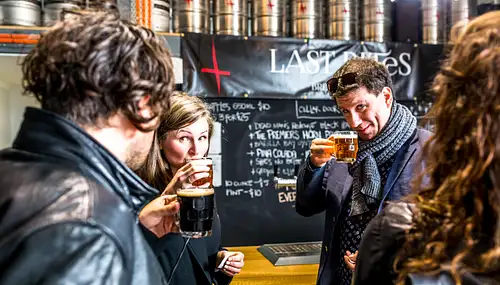
Best Price Guarantee*
Hobart, Australia
8 Hours and 30 Minutes
Drink Tasmania Signature Full Day Tour
5
(1)
200+ booked
from
AUD $
289.00
8 Hours and 30 Minutes
Hobart, Australia
Drink Tasmania Signature Full Day Tour
5
(1)
200+ booked
from
AUD $
289.00
Best Price Guarantee*
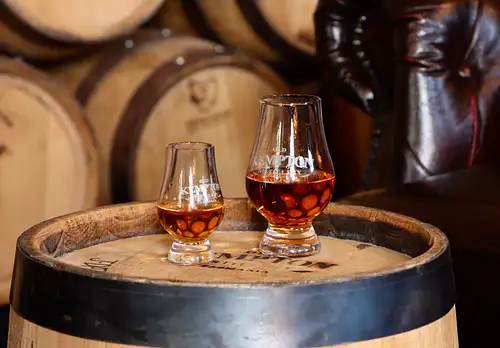
Hobart, Australia
1 Hours and 30 Minutes
Old Kempton Distillery Tour & Guided Tasting
200+ booked
from
AUD $
60.00
1 Hours and 30 Minutes
Hobart, Australia
Old Kempton Distillery Tour & Guided Tasting
200+ booked
from
AUD $
60.00
Best Price Guarantee*
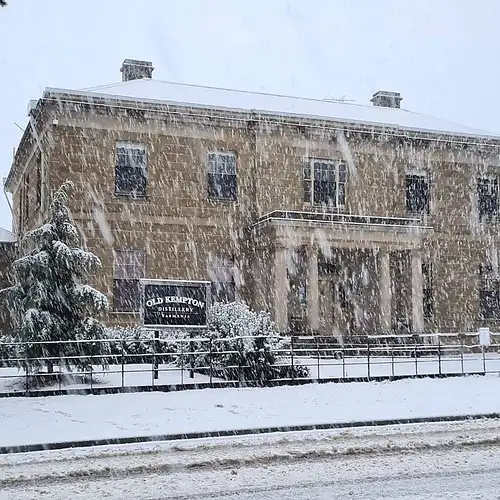
Hobart, Australia
3 Hours
Old Kempton Distillery Premium Tour & Lunch Package for 2
200+ booked
from
AUD $
190.00
3 Hours
Hobart, Australia
Old Kempton Distillery Premium Tour & Lunch Package for 2
200+ booked
from
AUD $
190.00